")
No time to read this article now? Download it for later.
Likely to the dismay of many nonprofit leaders, nonprofit organizations must practically live and breathe bureaucracy to maintain their tax-exempt status and ensure the continuation of their mission.
While the Form W-9 for nonprofits is just one more in the constant flow of forms, it has a bright side: it’s fairly straightforward and simple to complete.
It’s also not necessary for every organization or every tax season, so read on to find out if you need to fill it out and, if so, how.
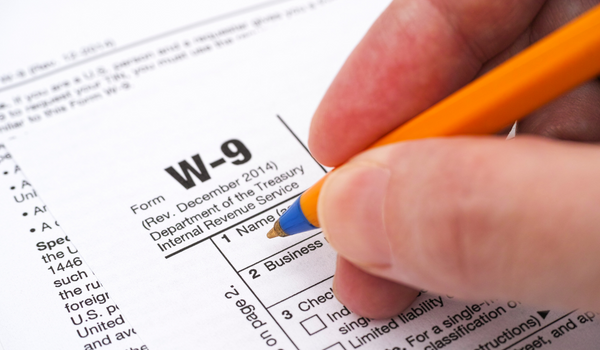
What is the Form W-9 for Nonprofits?
The Form W-9, also called the “Request for Taxpayer Identification Number and Certification” is a form used when your nonprofit needs to provide its taxpayer identification number (TIN) to another requesting organization. As a nonprofit, your TIN is the same as an Employee Identification Number (EIN), which you receive after filing IRS Form SS-4. Although it is the primary piece of information being transferred, the form includes all of the following:
- The name of your nonprofit organization
- The address of the organization
- The type of entity
- The organization’s TIN
Reasons Your Nonprofit Might Need to Fill the Form W-9
You will need to fill this form if your nonprofit must provide its TIN (and the accompanying information) to another requesting organization that needs to file an information return with the IRS using said number. There are several reasons that an organization may need the TIN of your organization, including the reporting of:
- You are receiving a payment from another organization
- Real estate transitions between the two organizations
- Payment of a mortgage
- The acquisition or abandonment of property
- Debt cancellation
- Contributions to an IRA
When Does Your Nonprofit Need to Fill Out a W-9?
The Form W-9 for nonprofits is typically only necessary if the transaction in question reached a total value of more than $600 over the year. When the requesting organization receives your filled Form W-9, it uses it to file the Form 1099-MISC documenting the total monetary amount paid. Thus, neither organization files the W-9 with the IRS; it is merely a tool for obtaining information in the grander process of tax filing.
What Happens If You Don’t Fill Out a W-9?
Given that the request is legitimate, refusing to provide your TIN via the Form W-9 can result in the requester withholding taxes from your pay at a rate of 24%. In addition, because the requester can face fines if they do not obtain the Form W-9 from you, they will be very motivated to do so.
Where to Find the Form W-9
The form is available on the IRS website. From there, you can either print it to fill out by hand or fill it out digitally.
Step-by-Step Instructions To Complete Form W-9 For Nonprofits:
Step 1: Write the name associated with your EIN
In Box 1, you must enter the legal name of your nonprofit as registered with the IRS when receiving your EIN/TIN.
Step 2: Write the name associated with your entity
If your organization is legally operating under a name that is different from the name in Box 1, otherwise known as a DBA, or doing-business-as, enter that name in Box 2. Otherwise, leave Box 2 empty.
Step 3: Mark your entity type
In Box 3, nonprofits should check the box marked “other” and write “Nonprofit corporation exempt under IRS Code Section ___.” Fill in the blank with the code section number for the type of tax exemption your organization has, such as 501(c)(3).
Step 4: Enter your exempt payee code, if applicable
Assuming you are a tax-exempt nonprofit under 501(c), you should leave this box blank.
Steps 5 and 6: Write the street address of your organization
Box 5 provides a field for the organization’s street number, street name, and interior number.
Box 6 provides space for the entity’s city, state, and zip code.
There is also an unnumbered box for optionally providing the requester’s name and address.
Step 7: If necessary, provide account numbers
Box 7 provides the option of listing account numbers that your employer might need. However, listing these is optional.
Step 8: Provide your TIN
Enter your IRS-issued EIN in Box 8. You cannot be a nonprofit organization without an EIN number, so you should always use the EIN section and leave the Social Security number box empty.
Step 9: Provide certification
The section labeled “Part II” is for certifying that:
- The information you have provided is true
- You are not subject to backup withholding
- You are a U.S. citizen (or U.S. person)
- Any codes entered are correct
All you need to do in this section is provide your signature and the date.
Step 10: Submit the Form W-9 to the requester (and not to the IRS!)
There’s no need to send the form to the IRS. You simply send it to the entity that requested your W-9, and then your work is done.

Further Questions on W-9’s for Nonprofit Organizations?
The last several pages of the Form W-9 provide ample instructions and explanations about each section to be filled out. If unsure about some detail, check those sections for in-depth information on each requirement. It’s also a good idea to review what you have filled out to check for errors.
Although the Form W-9 is on the simpler side, there can always be unforeseen obstacles requiring assistance. If you’re still unsure about something and feel that you could benefit from personal guidance for your unique situation, consider contacting the Charity CFO. With our expert bookkeeping and accounting support, you can focus more on your nonprofit’s mission while we worry about the paperwork.

Do You Struggle to Make Sense of Your Financial Statements?
Get our FREE GUIDE to nonprofit financial reports, featuring illustrations, annotations, and insights to help you better understand your organization's finances.
Get the free guide!
0 Comments